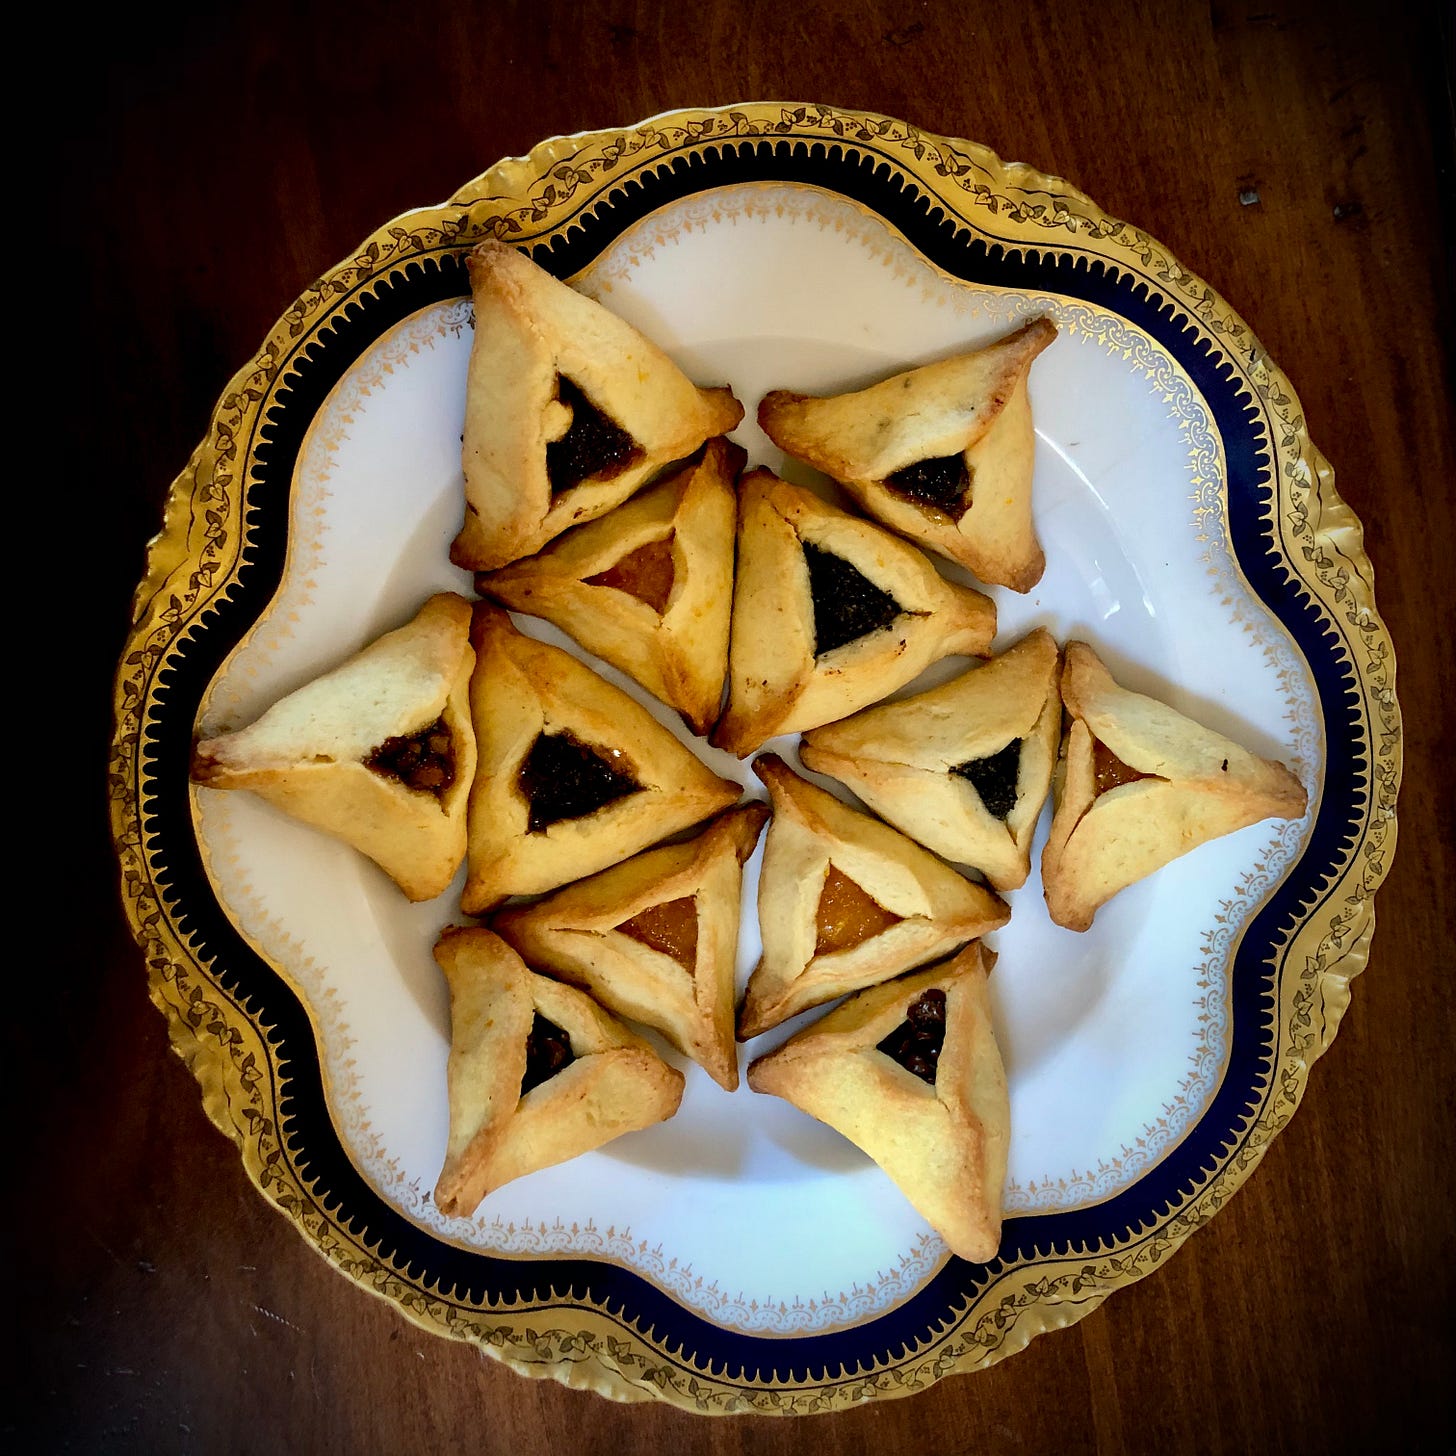
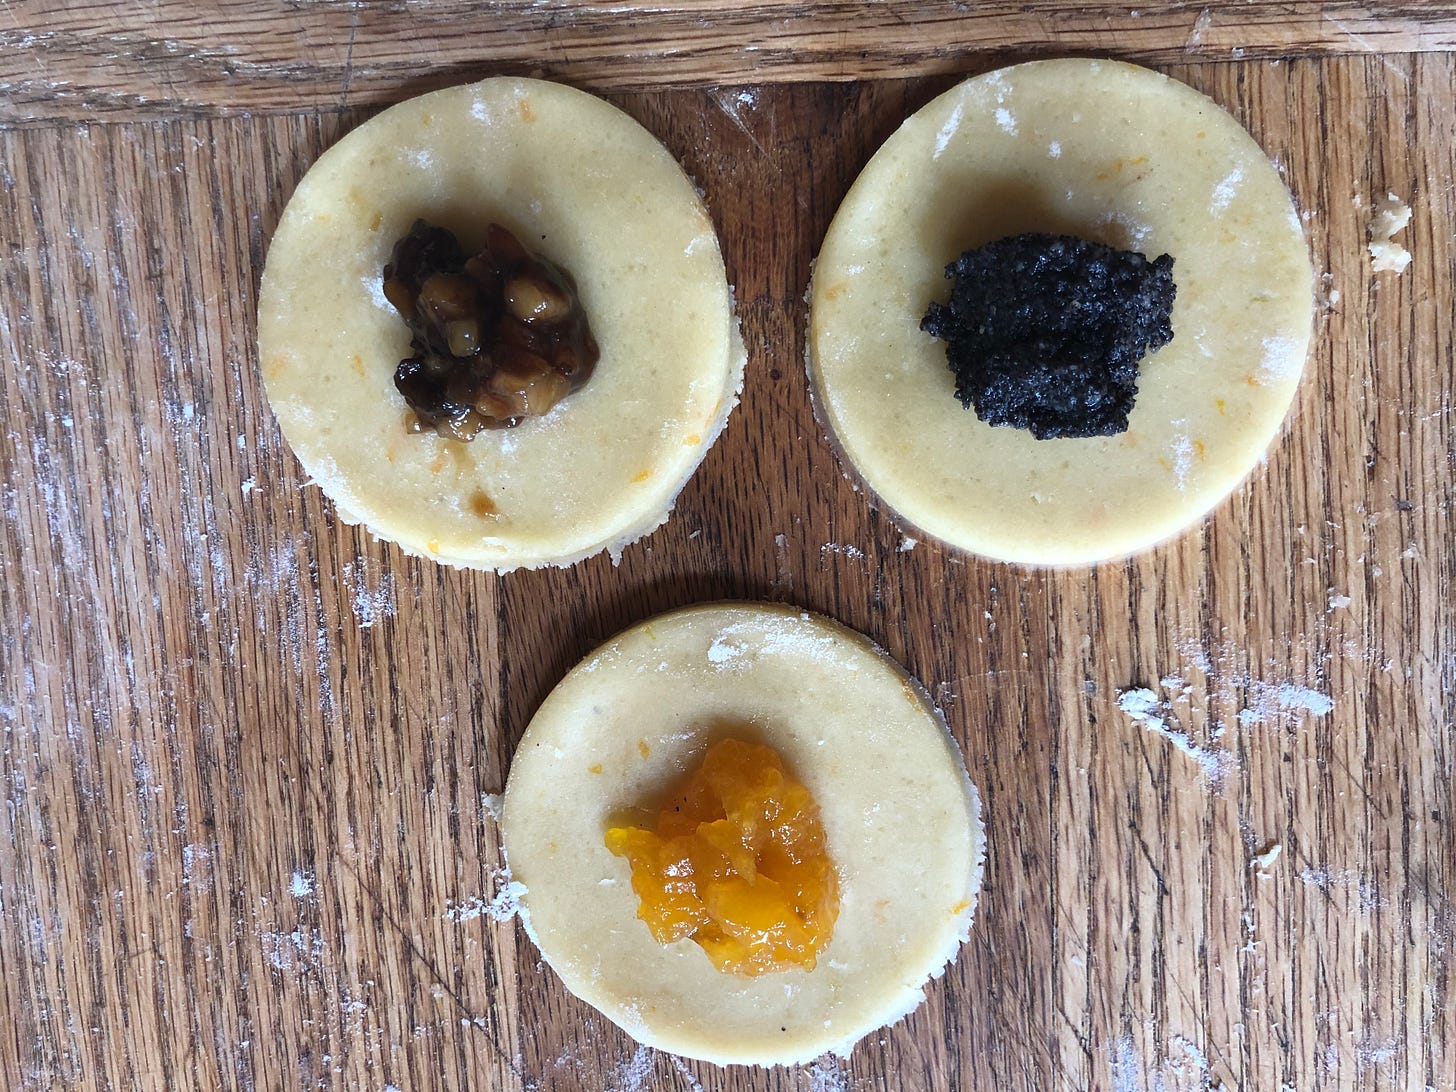
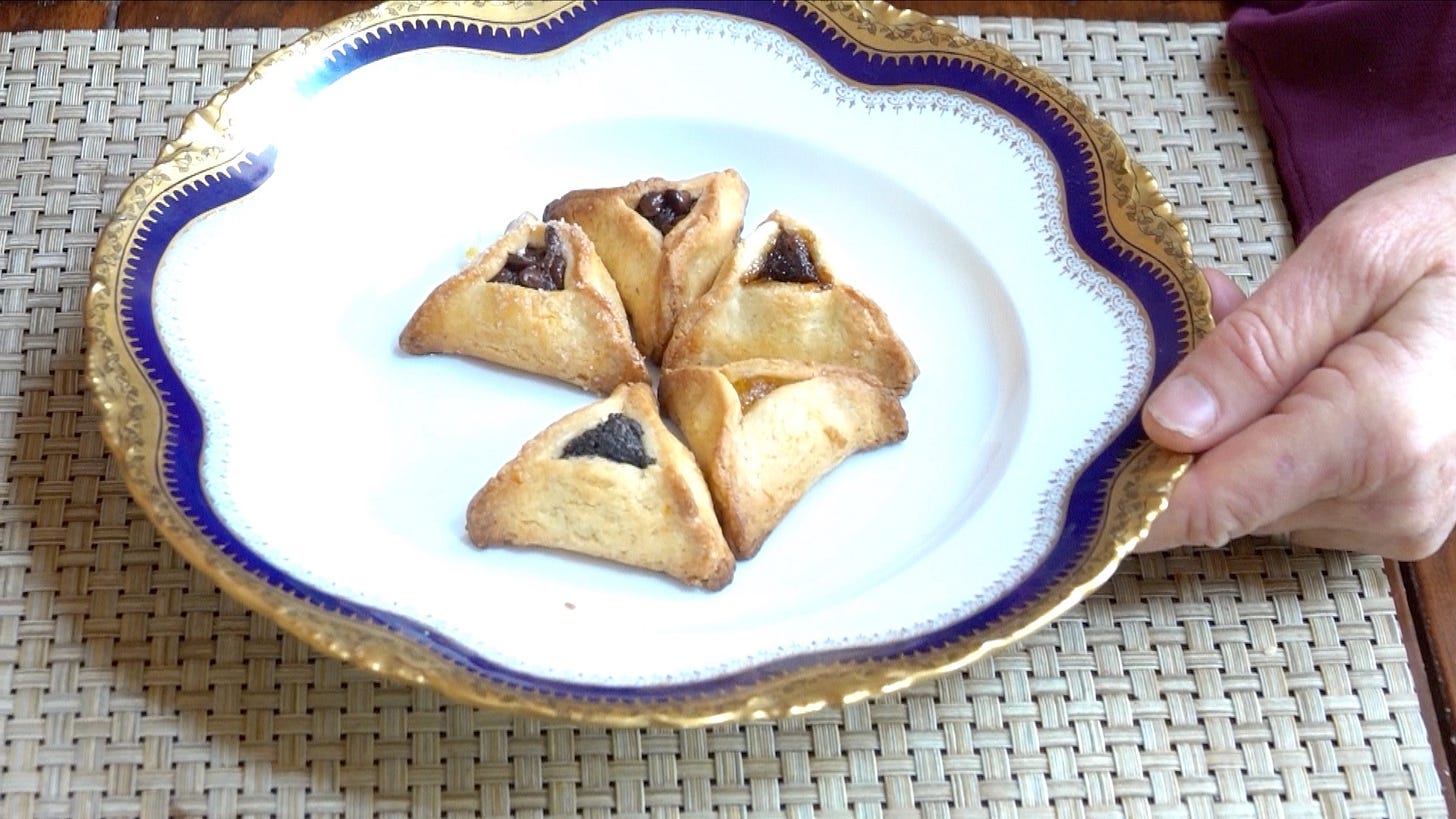
I have a distinct childhood memory of watching my mother rolling out sheets of yellow cookie dough, cutting circles with a drinking glass and putting teaspoons of prune-walnut filling in the centers. She would then magically turn the circles into plump little triangles, pinching the corners together, leaving a small opening in the middle for the filling to peek through.
These were hamantaschen, the signature cookies of the Jewish holiday of Purim. To me it wasn’t—and isn’t—Purim without this miniature tart of a cookie.
The cookie's name likely derived from a play on words on a triangular poppy seed-filled pastry called Mohntaschen—literally poppy seed pockets—popular in Germany and Eastern Europe in the 19th century. Mohn transformed into Haman, according to this story, with hamantaschen meaning Haman's pockets (the singular is hamantasch). But when I was growing up, we were always told it meant Haman's hat, so I pictured this bad guy with a tricornered hat filled with prunes and nuts.
In Israel, the cookies are called oznei Haman, or Haman's ears. In any case, they represent some part of this very wicked man, who, according to the story of Purim (recounted in the Book of Esther, or Megillat Ester in Hebrew), had convinced the king of 5th-century B.C.E. Persia to let him exterminate all the Jews. That was, until Esther, the king's wife, who just happened to be Jewish, persuaded him to get rid of Haman instead.

One of the most joyous of Jewish holidays, customs on this day include dressing up as the key characters in the Purim tale, exchanging gifts of food and drink, donating to the poor, reciting the story of Esther (in other words, the whole megillah!), and—my favorite—making and eating hamantaschen.

This year the holiday runs from sundown to sundown on Feb. 25 to 26. There will be no trip to the synagogue to hear the Purim story; as with everything else, the observance will likely be on Zoom. But, at my house anyway, there will still be hamantaschen, both to eat and to give away.
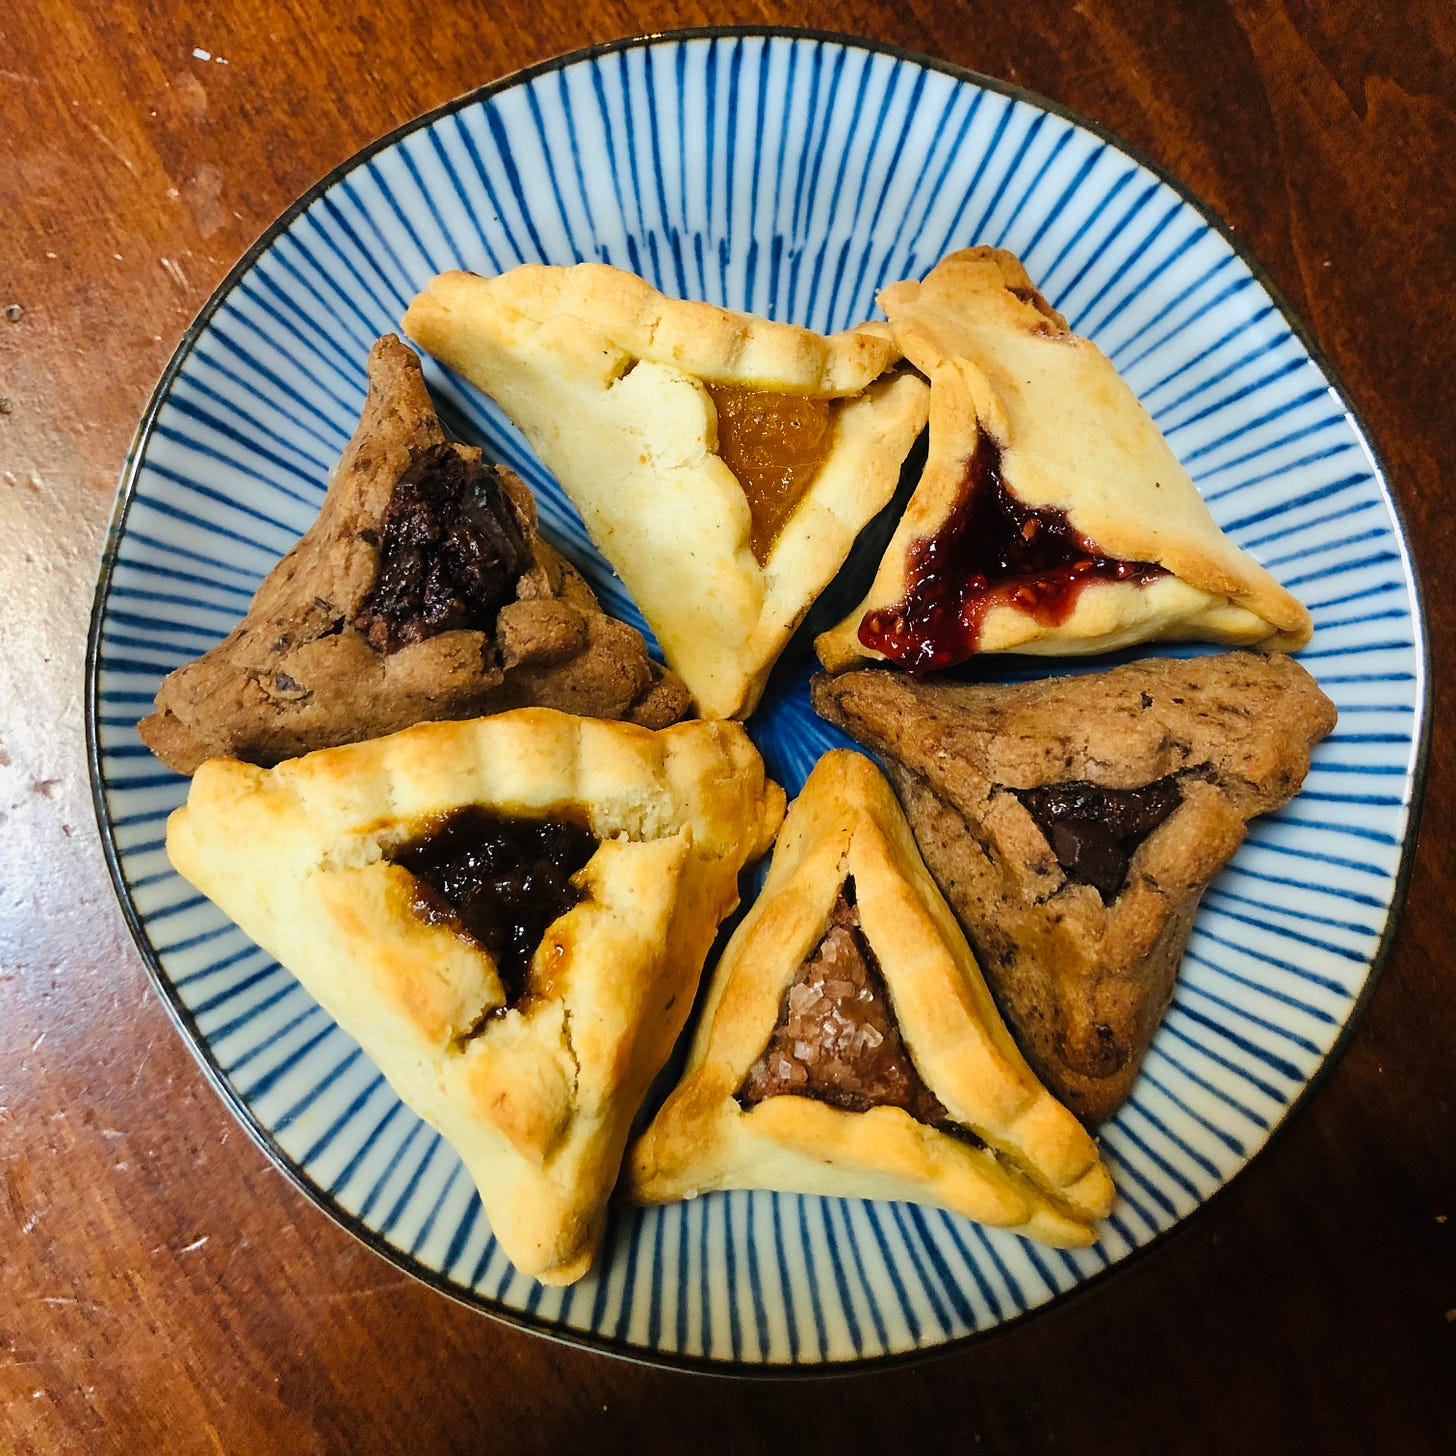
The cookies aren’t very complicated to make. Not surprisingly, given the evolution of its name, the cookie traditionally contained poppy seed (mohn) or other German or Eastern European-style fillings, such as prune or apricot (lekvar) fillings. But, if tradition isn’t your thing—or you just want to have some fun—there's a lot of room for creativity when it comes to hamantaschen. A BuzzFeed list of 32 Crazy Hamantaschen for Purim includes Savory Carmelized Onion, Candy Cane Cheesecake, and Ganache and Salted Caramel varieties, among others. If you have a yen for campfire cookouts, you can whip up a batch of S'more hamantaschen (marshmallow fluff and chocolate in a graham cracker crust).
There are also variations on how to shape the cookies into the requisite three-corner shape without having the cookies open up while baking and/or erupt like mini volcanoes. On her blog, Tori Avey gives an excellent step-by-step description of how to fold the cookies in a sort of triangular pouch that remains intact in the oven.
I prefer the "pinch" method I learned from my mother. After a bit of practice, I've found it works well, with few cookies spewing fruit and nut “lava” in the oven. Some recipes suggest using a little egg white or water to moisten the edges of the cookie dough to help stick them together. You can play around. But there are a few steps to follow that make the difference between a happy hamantasch experience and one that makes you give up and reach for the nearest Girl Scout Thin Mint. (But should you have a yen for one, you're in luck--there's actually a recipe for chocolate mint hamantaschen!)
For the dough, I used a recipe I found in one of my favorite Jewish cookbooks, Joan Nathan's The Jewish Holiday Kitchen. It’s a simple butter cookie dough that you can make in a mixer, food processor or, if you wish, by hand. I made three fillings, prune-walnut in memory of my mother (you can find the recipe below), apricot (link here), and poppy seed (link here). There are also readymade cake and pastry fillings from Solo that are convenient and delicious.
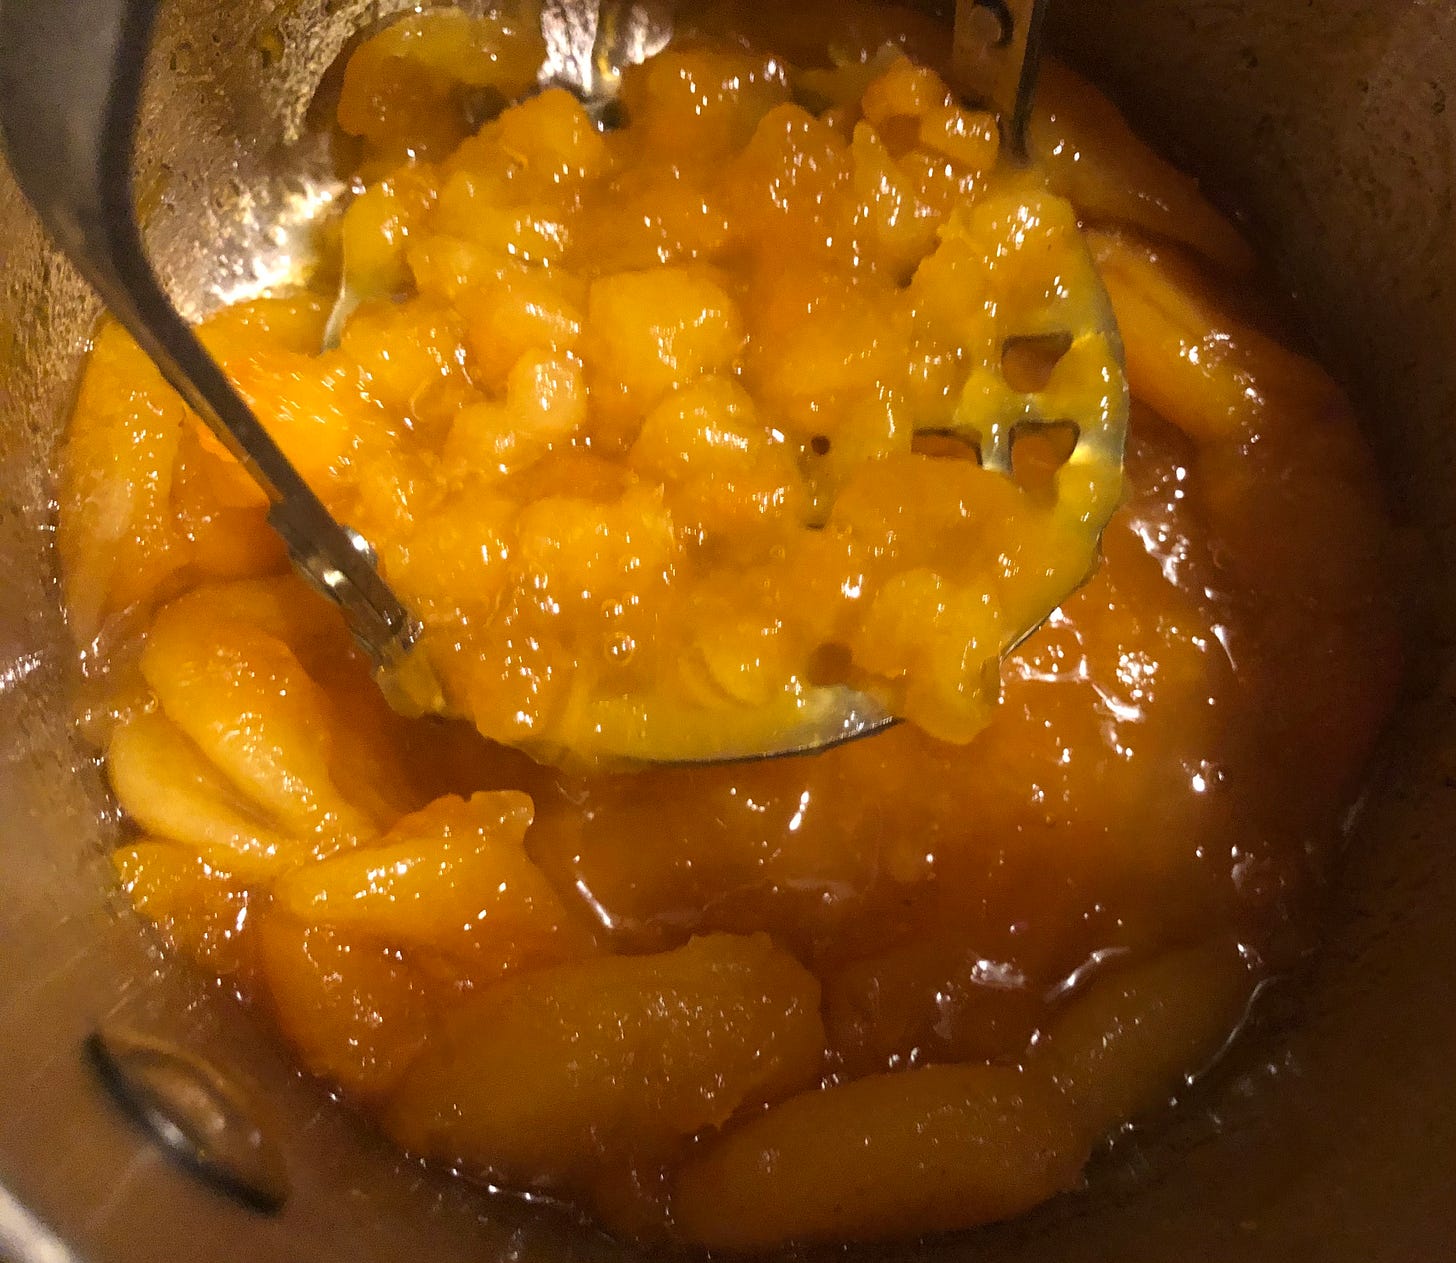
Jams or preserves that you may already have on hand, such as raspberry, cherry and strawberry, also make good fillings, though sometimes they’re a little thin and tend to bubble out of the cookies when they’re baking. One way around that is to simmer them for a few minutes to remove some of the liquid; they’ll thicken as they cool. Since my husband is a chocoholic, Nutella, with a sprinkling of mini chocolate chips, is also on my list of requisite fillings. A Valentine’s Day variation is also on my menu!
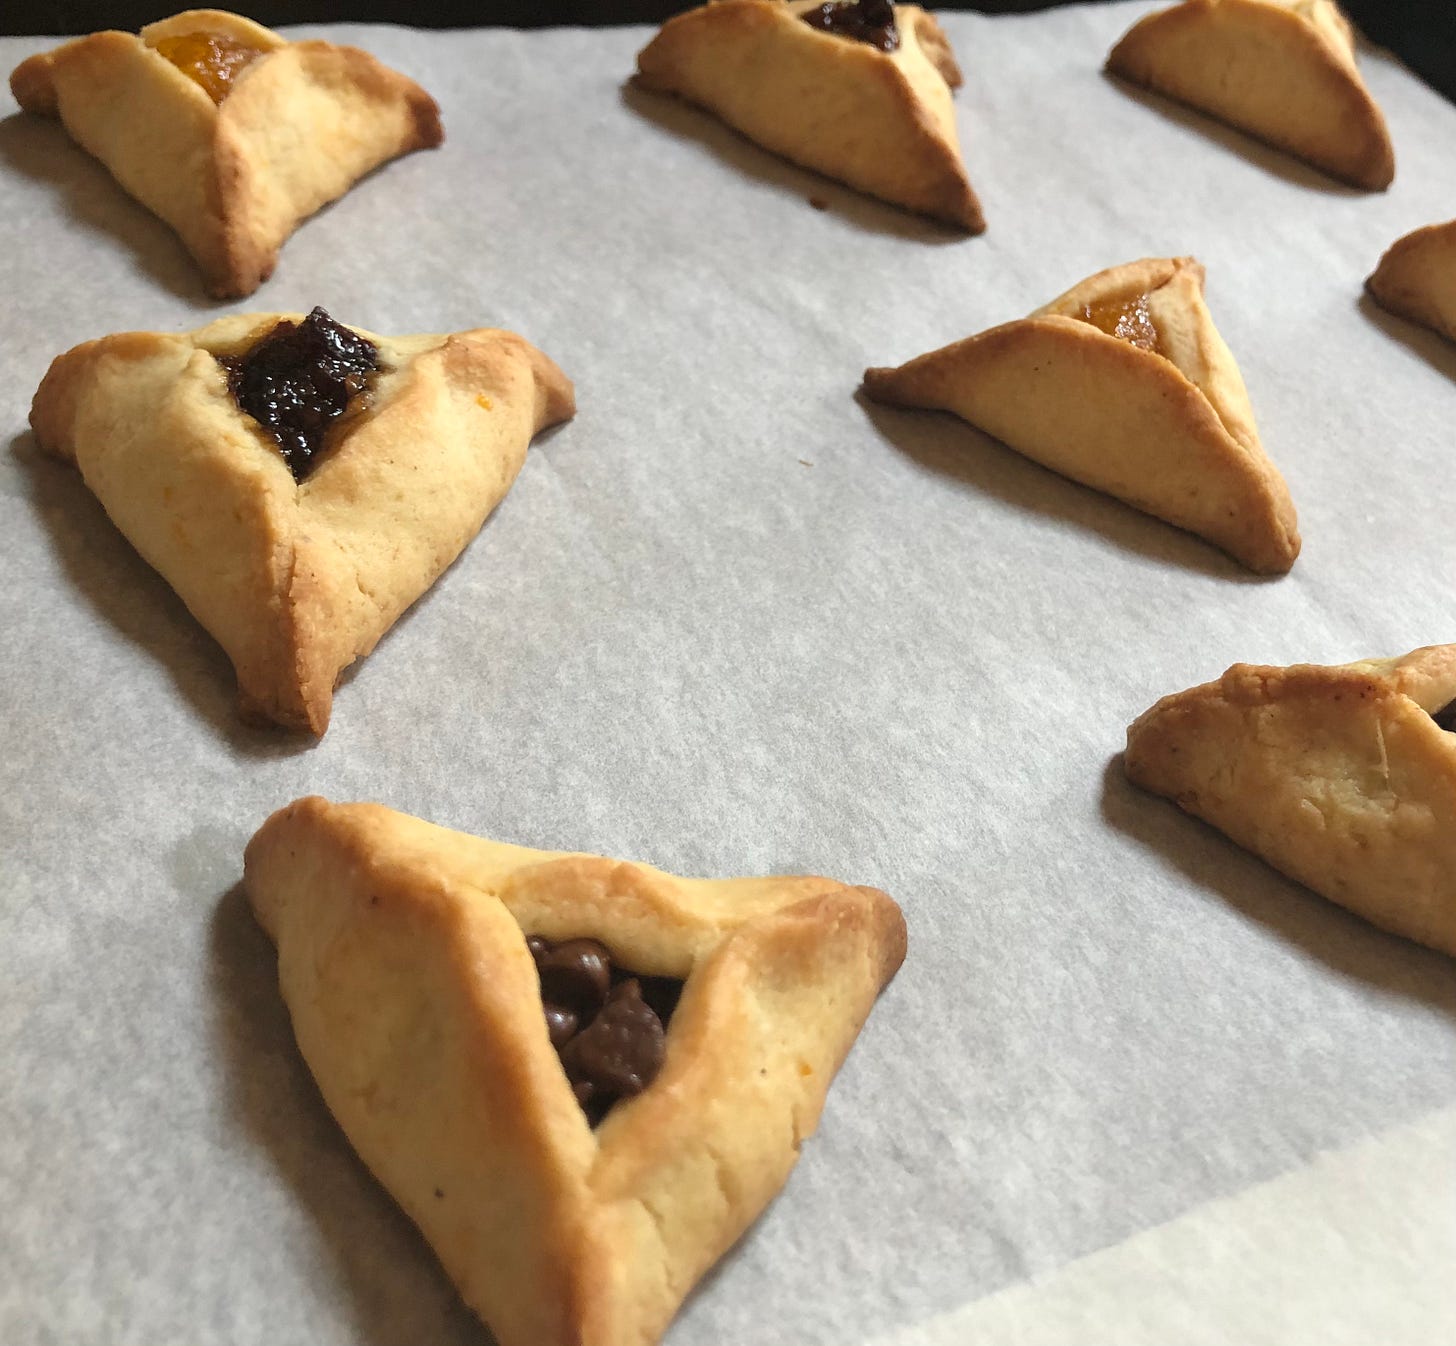
In a time of sadness, loss and anxiety, what could bring more joy and comfort than a plate of hamantaschen—especially shared with someone special? And, as my good friend Vivian Kalev reminds me, you needn’t wait for Purim! They’re really great anytime.
L’Chaim!
Hamantaschen Dough
Makes enough for 24 to 36 cookies*
(Adapted from Joan Nathan's The Jewish Holiday Kitchen)
Ingredients:
2/3 cup unsalted butter (or pareve shortening), softened
1/2 cup sugar
1 large egg
1/2 teaspoon vanilla
2 1/2-3 cups unbleached all-purpose flour
1 teaspoon baking powder
1/4 teaspoon salt
Grated zest of 1 small orange (optional)
1 egg, beaten, mixed with 1 teaspoon of water (optional—for brushing cookies before putting them in oven)
Directions:
1. Cream the butter and sugar in the large bowl of a mixer, in a food processor or by hand.**
2. Add the egg, vanilla and the orange zest, if using. Continue mixing until the batter is smooth.
3. Sift 2 1/2 cups of the flour, the baking powder and salt into a small bowl. Save the remaining half cup to add to sprinkle on the board and/or dough if needed when you roll it out later.
4. Add the flour to the butter mixture, mixing or pulsing until a ball of dough is formed. Try to avoid over-mixing as it will create a tough dough. You may find the dough holds together perfectly and you still have some leftover flour. That’s fine as you can always add more if necessary when you roll out the dough.
5. Split the dough into three or four balls, wrapping each in plastic wrap. Refrigerate 3-4 hours or overnight.
6. When ready to bake, preheat the oven to 375 degrees. Cover a cookie sheet with parchment or grease it lightly with butter or a spritz of oil.
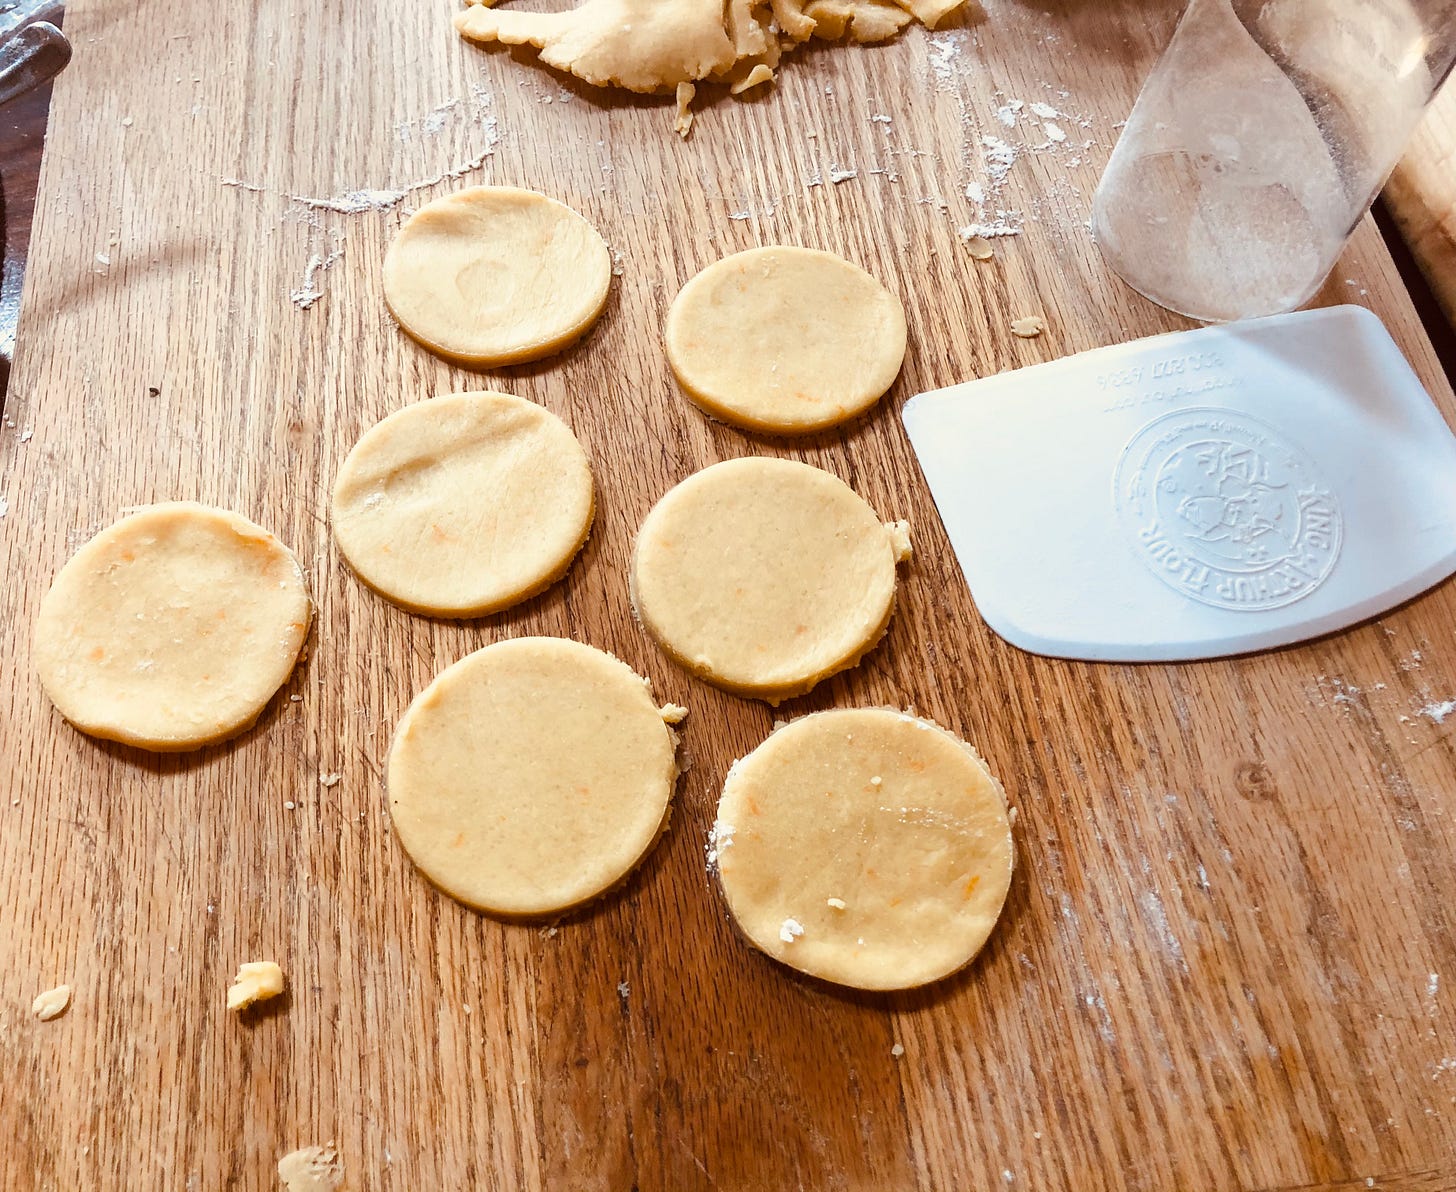
7. Take a packet of dough (you should remove it from the fridge at least 10 to 15 minutes ahead of time to let it soften) and roll out to the thickness of about 1/8 inch (you just have to guess at this!) on a lightly floured board. You can also use a piece of plastic on top to help avoid sticking and to keep from adding too much flour. Sometimes, I also put plastic under the dough as well. Cut the dough into 2 1/2- to 3-inch circles (I use a floured glass that is just shy of 3 inches in diameter).***
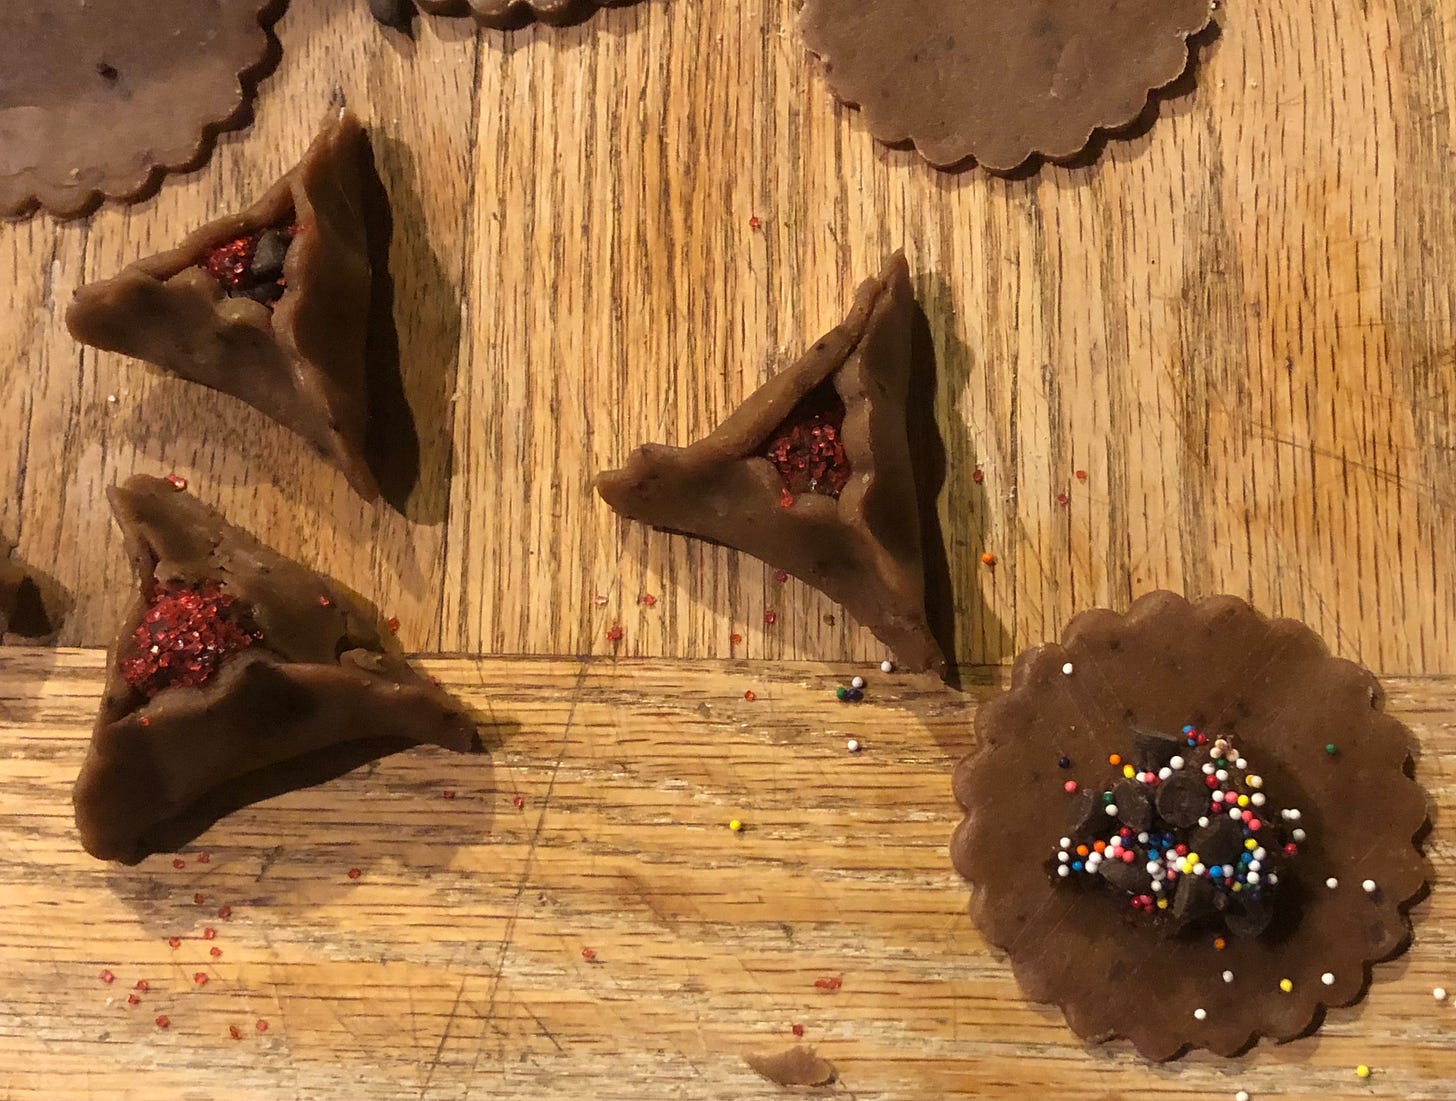
8. Fill the circles of dough with about 1 teaspoon of filling (better too little than too much!). Then, using your two forefingers, push the top two thirds of the cookie toward the center. Fold up the bottom third upward with your two thumbs, and press lightly together, leaving some of the filling showing in the center. Lightly pinch the three seams together, but make sure that they’re well stuck together or they’ll open in the oven.
9. If you wish, lightly brush the cookies with a beaten egg, thinned with water, before putting them in the oven. Bake for 10-15 minutes until lightly browned, flipping the tray halfway through to make sure they’re browning evenly. Transfer to a cooling rack.
Notes:
*The number of cookies is dependent on how thick you roll the dough and how large you make the cookies. I usually use a water glass measuring almost 3 inches to cut out the circles, but you can go larger if you like, adding proportionally more filling.
**I have found that the food processor works beautifully for making the dough. I pulse the butter a few times before adding the sugar, egg and vanilla and mixing until smooth. I then added the flour and pulse a few times until well combined.
***If you don't have a cookie or biscuit cutter, a floured water glass works fine, although sometimes you have to use a knife to coax the circle of dough out of the glass.
Prune-Walnut Filling
Ingredients:
1 cup finely chopped pitted prunes
1/4 cup raisins, soaked in 1/4 cup juice, sweet wine or water
1 cup water (or more if needed)
1 pinch salt
2-3 tablespoons lemon juice
1 teaspoon lemon zest
1/4 cup honey
1/2 cup chopped walnuts
Directions:
1. Put chopped prunes into small saucepan with water and soaked raisins, including juice.
2. Boil, then simmer until soft, checking frequently to make sure the liquid hasn't boiled away. Before it does, be sure to add more water. The smell of burnt prunes is not very appetizing!
3. Add the lemon juice, zest and honey. Stir well.
4. Mash with a potato masher or use an immersion blender if you want a smoother consistency. (I didn't, and the cookies tasted just fine.) Stir in chopped walnuts. If you prefer, you can substitute other chopped nuts, such as almonds.
Thanks for reading this edition of Ruthtalksfood. If you enjoyed it, please click “like” to let me know, or leave a comment or suggestion for future topics. To receive these posts in your inbox, please don’t forget to subscribe.





Ruth, I like the prunes and walnut filling. Such a wonderful tradition of you baking with your mother and your special plate. The painting of the cat with the hamantaschen is very fun too. We made these one year during our Holiday Cookie Baking class. They are delicious any time of the year! I saw giant ones at Sherman's Deli when we were in Palm Springs last week. I wanted to get them, but resisted.
Wonderful! Thanks!