The Ultimate Birthday Cake
When it's got ice cream, Oreos, M&M's and fudge, what could possibly go wrong?

I wanted to make the perfect ice cream cake for my husband Jeff’s birthday last week. The challenge: Could I equal the ones we’ve been getting from Cold Stone Creamery for more years than I care to remember?
Just any off-the-shelf cake wouldn’t do; Jeff has Cold Stone custom-make the cakes each year. When I asked what he wanted in his “dream cake,” his list included the following:
Two flavors of ice cream (mint and cookies and cream or vanilla) sandwiched between layers of chocolate cake and topped with fudge and Oreo cookies, maybe a few peanut butter cups and M&M’s on top. Plus, a birthday message, of course. (He didn’t ask for the message, but every birthday cake must have one, right?)
I did a Google search and found what seemed to be a straightforward recipe from Häagen-Dazs for a Mint Chip Chocolate Ice Cream Cake. How difficult could it be?
Honestly, harder than I expected. I screwed up in every way—drippy ice cream, fudge that wouldn’t spread, cake-decorating pens that wouldn’t write, wilting whipped cream, M&Ms that sank into obscurity. Clearly ice cream cakes are not my forte!

But (sound the trumpets!), there was a happy ending. What the cake lacked in looks, it made up for in taste, at least according to my picky husband, who packed away four generous slices in a two-day period and pronounced it “the ultimate ice cream birthday cake.” That’s high praise from a man whose comment on most dishes—other than grilled cheese, tortilla soup and Hershey’s chocolate—is “It’s fine.”
Anyway, here’s more on how it all came together.
It began in the usual way. The ingredient list for this recipe (click on the link to see it!) is simple: chocolate cake + ice cream + fudge. The cake part is standard: flour, sugar, cocoa, baking powder, baking soda, salt, milk, vegetable oil, vanilla and some optional crushed mint chocolate cookies, which I didn’t use but would have upped the mint quotient.
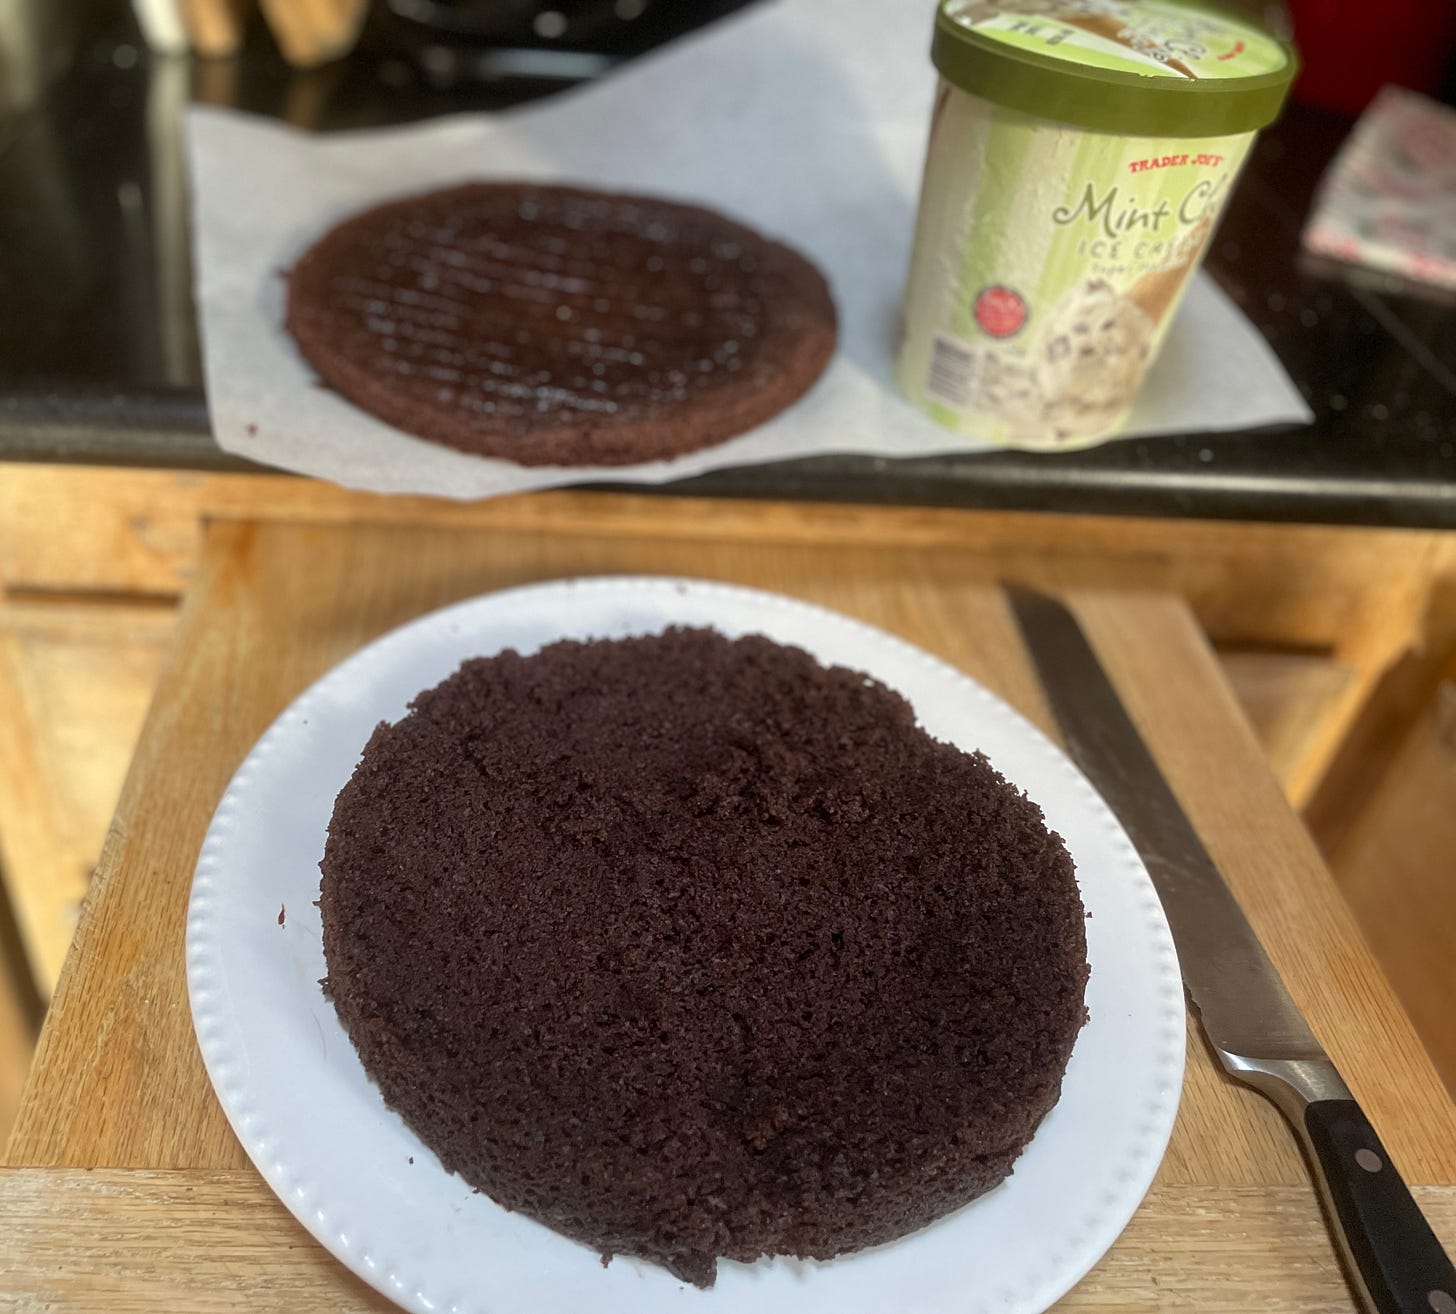
Challenge #1: Cutting the 9-inch cake into two layers by slicing crosswise. This was accomplished with a bread knife—I actually thought I did this part pretty well. A sharp knife and a steady hand help.
Challenge #2: Spreading the first layer of ice cream (I used Trader Joe’s Mint Chip) on top—after softening it for 10 minutes. I decided to add a layer of fudge (not in the recipe), also using a Trader Joe’s brand. It tastes great, but, as you can see from my picture (above, third from top), it ended up mixing in with the melting ice cream. Tip for next time: Spread the fudge first, sticking the cake in the freezer for a few minutes and then putting the ice cream on top of the fudge. It still might not work, but it’s worth a try.
Challenge #3: Spreading the second layer of ice cream, this time an even drippier Dreyer’s Slow Churned Cookies ‘n Cream. This is a reduced-fat ice cream, my nod to the laughable idea of reducing the calorie count. Next time I’d opt for the Häagen-Dazs brand or another super-premium ice cream. Perhaps it might have dripped less. And, truly, calorie-counting and birthday celebrations don’t mix! (Note: before spreading the second layer of ice cream, you must first put the second cake layer on top of the mint ice cream layer and the fudge sauce, if you use it.)
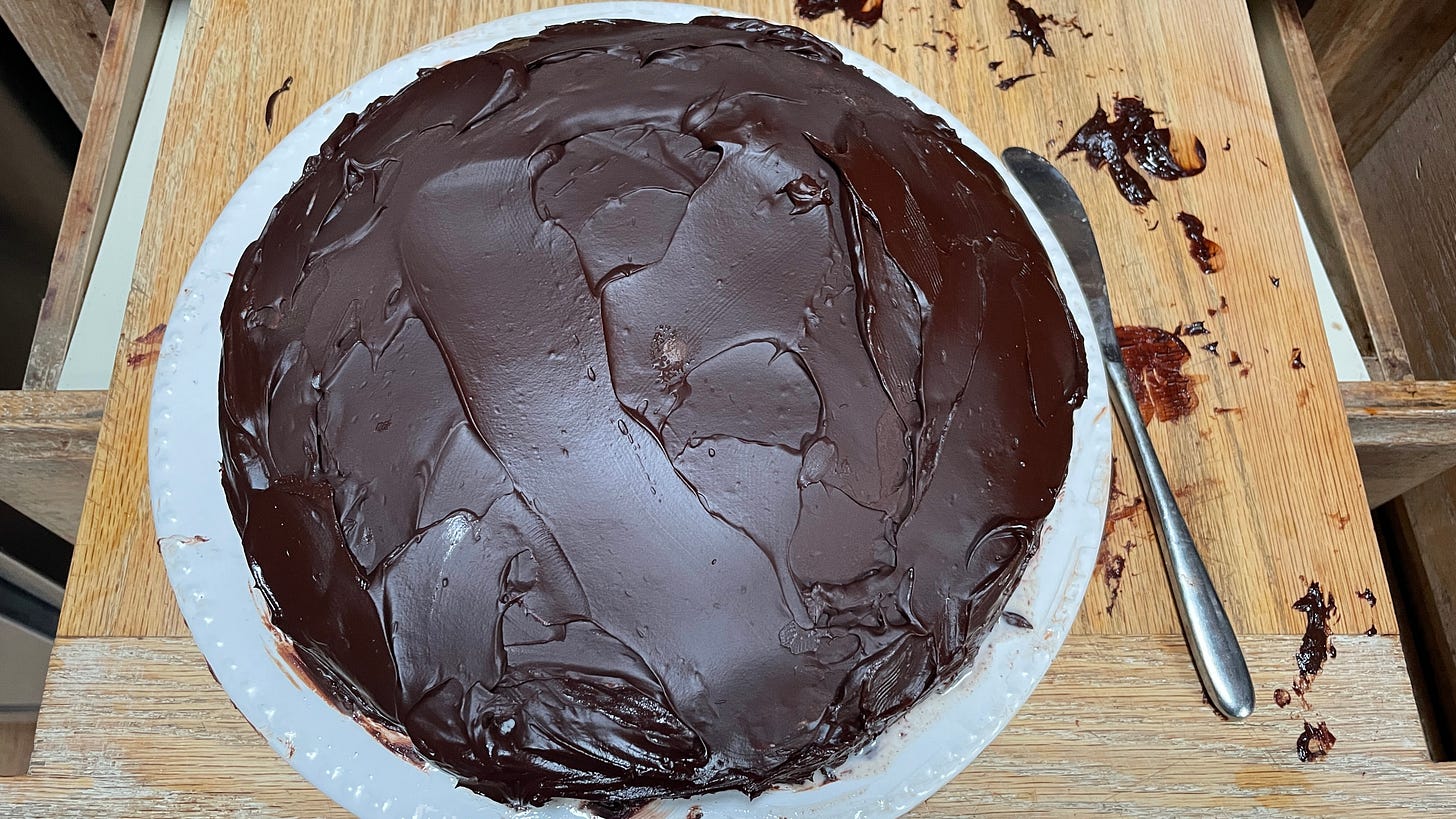
Challenge #4: Spreading the fudge topping. The recipe calls for a simple fudge frosting of melted chocolate chips and cream, easily made in a saucepan. I spread it over the second layer of ice after refrigerating the cake a second time and cooling the sauce. It came out pretty well, although I had about as much chocolate on me as on the cake when it was all over!
Challenge #5: The decoration. Suffice it to say, just about everything I had planned didn’t quite work. Here’s why it didn’t:
I had the bright idea to purchase a can of whipped cream to decorate the top, thinking I would use some Chocolate Deco Pens I’d bought from Williams Sonoma and surround the writing with little whipped cream flowers. It was a disaster.
The pens were supposed to soften in your hands or in warm water. They refused to yield any writing gel until I heated the water further. Then they exploded all over the top of the cake.
After attempting to blot off red and orange blotches, I decided to write “Happy Birthday, Jeff” in whipped cream letters with M&M accents. The M&M’s just sank into the cream.
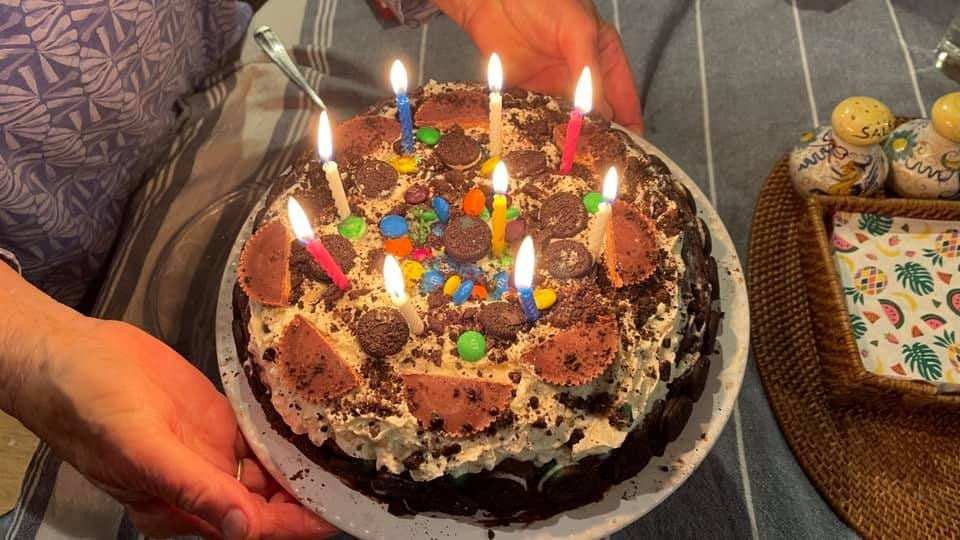
In desperation, I covered the entire cake in whipped cream (that was fun!), created a circular pattern with Reese’s Peanut Butter Cups (a Jeff favorite!), and stuck miniature Oreos onto the sides of the cake where the fudge was thin, adding more in the center, along with several layers of M&M’s, so a few might poke through the cream. (Note: the original recipe doesn’t call for whipped cream, M&M’s, Oreos or peanut butter cups.)
Since there were still bald patches on top of the cake, and no birthday message was possible, I turned some of the Oreos into crumbs and sprinkled them on top, stuck the cake back in the freezer and called it a day.
Lesson learned? Take a cake-decorating class next time—or learn to embrace my culinary imperfections!
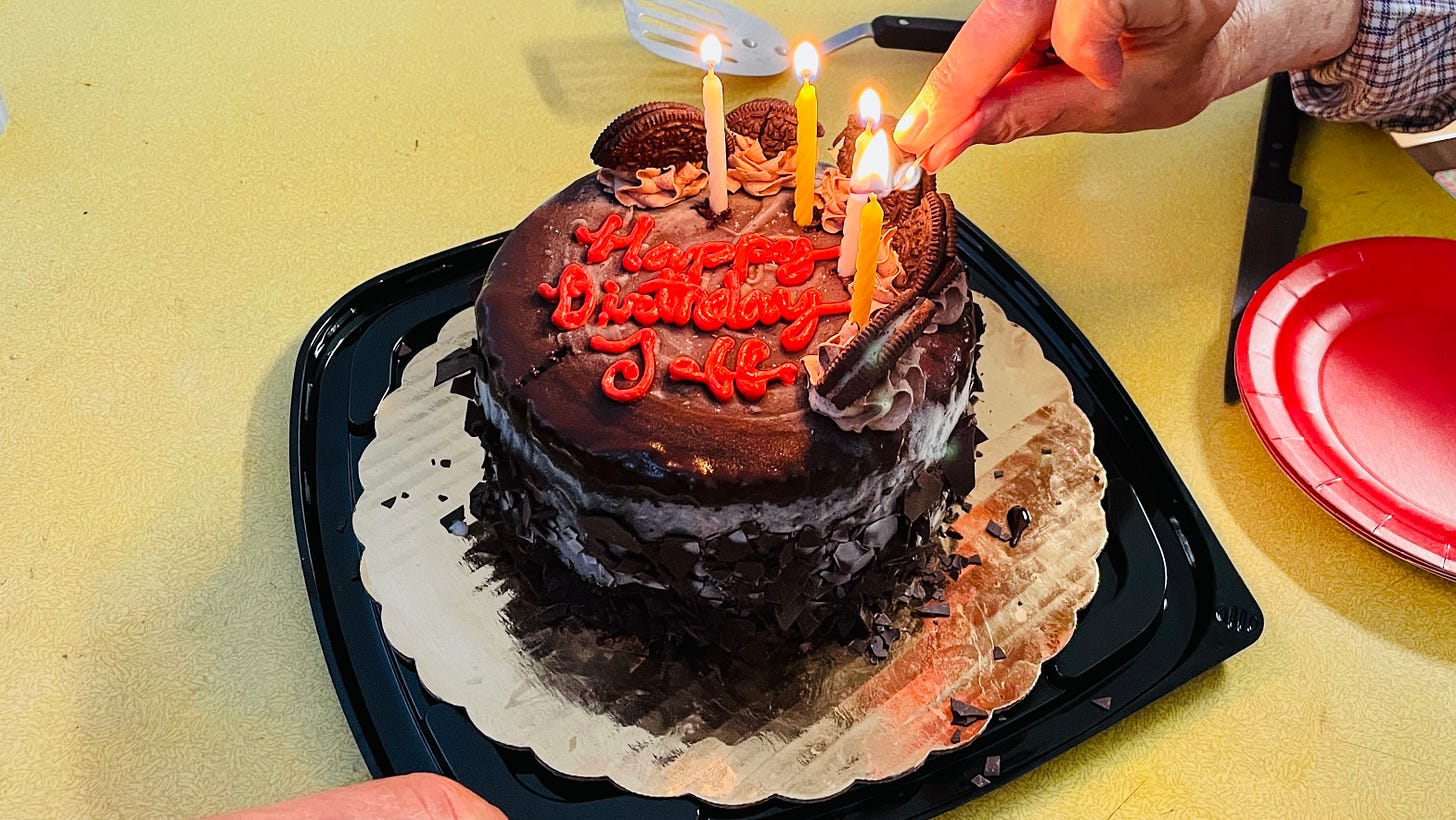
Bottom line: The cake didn’t look anywhere near as pretty as the ones from Cold Stone, but it was a hit nonetheless. I’m sure we’ll keep ordering cakes for future birthdays, but, as I don’t want to be a quitter, I’m definitely going to try making another ice cream cake—just not anytime soon. After two cakes, three parties and continuous celebrating as our world—and local restaurants—race to reopen as pandemic restrictions end, we have both decided that cutting back on sweets is in order.
But first, one last slice of cake!


Using thread around cake circumference and then crossing end over end and pulling is easier way to split cake later